
Pegas Align Components — Instant Bounding-Box Layout Snapping for Fusion 360
Assembly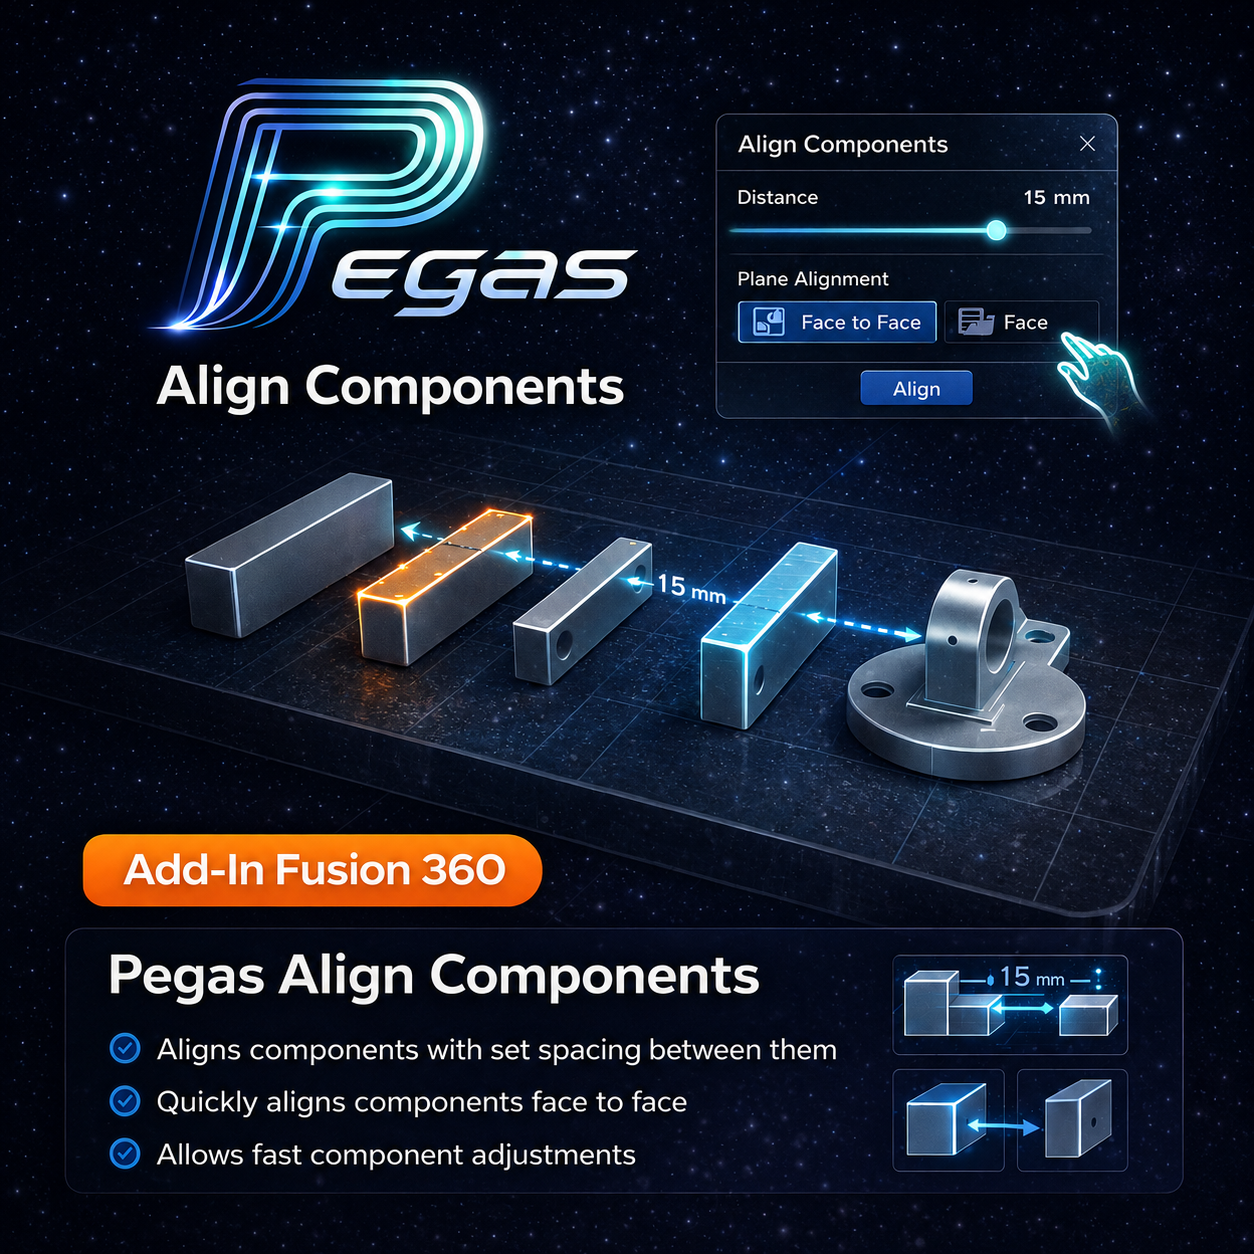
Pegas Align Components — Instant Bounding-Box Layout Snapping for Fusion 360
The Problem: Slow, Tedious Component Repositioning for Sheet Layouts
Arranging multiple cabinet parts or wooden components on a flat sheet inside Fusion 360 is a repetitive bottleneck. Standard tools require you to manually drag coordinates, define face-to-face joints, or enter numbers for every single body. If you have 30 components, this process takes dozens of clicks and coordinate inputs.
The Agitation: Rigidity of Joints and Performance Drag
Using Fusion 360 joints to position parts on a nest makes the model heavy and slow. Joints are designed for assembly motion, not flat-sheet nesting. Manually dragging parts with the Move command frequently leads to tiny alignment errors, resulting in overlaps and off-cut collisions during cutting.
The Solution: Zero-Joint Bounding-Box Axis Alignment in One Click
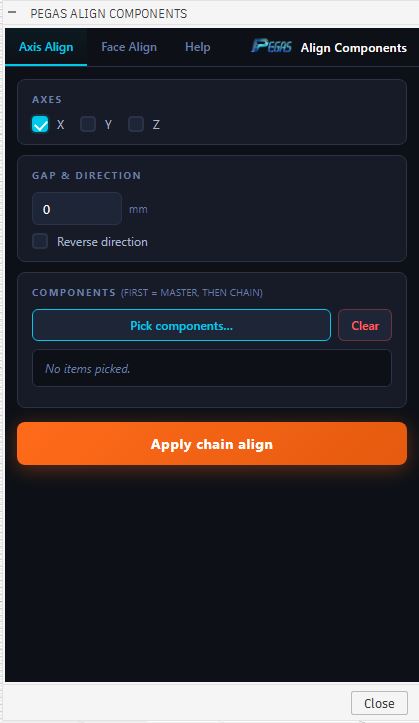
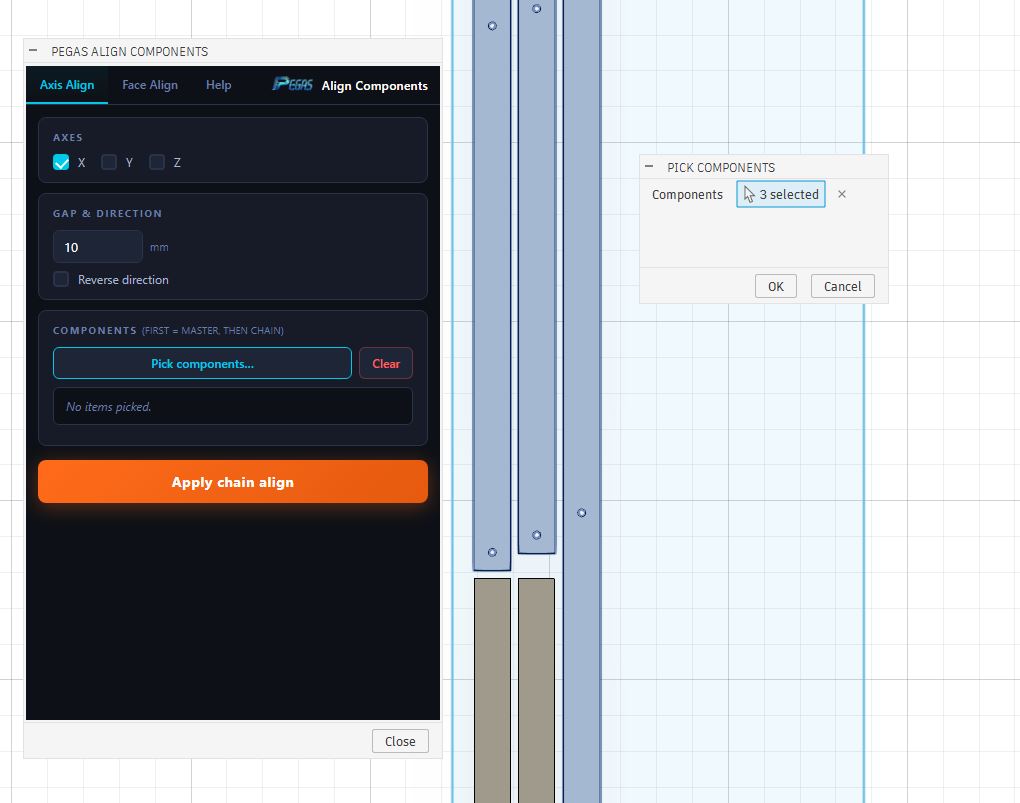
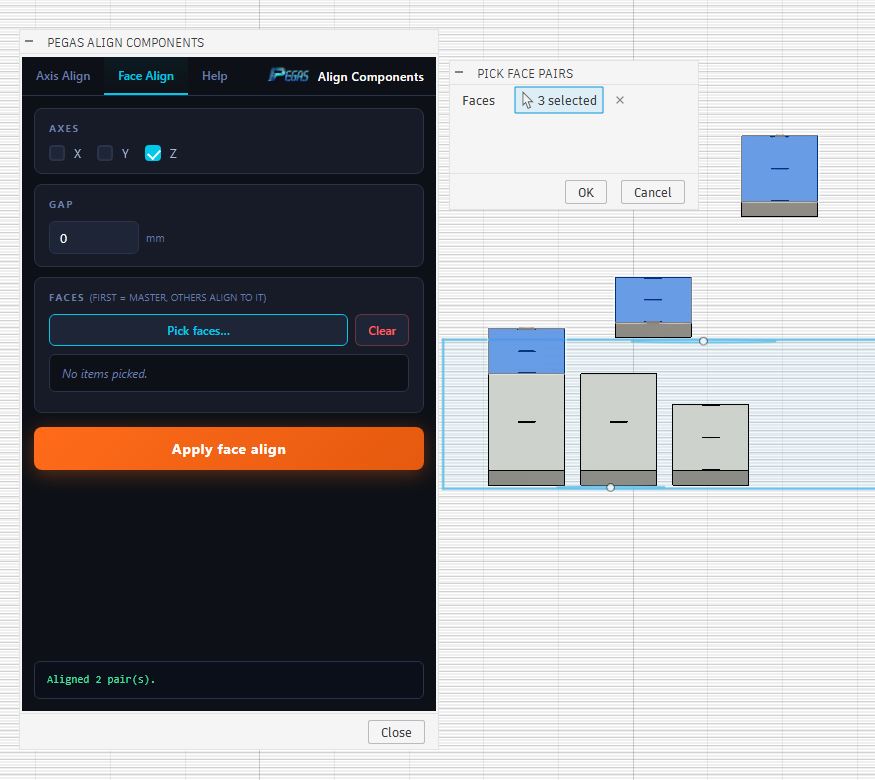
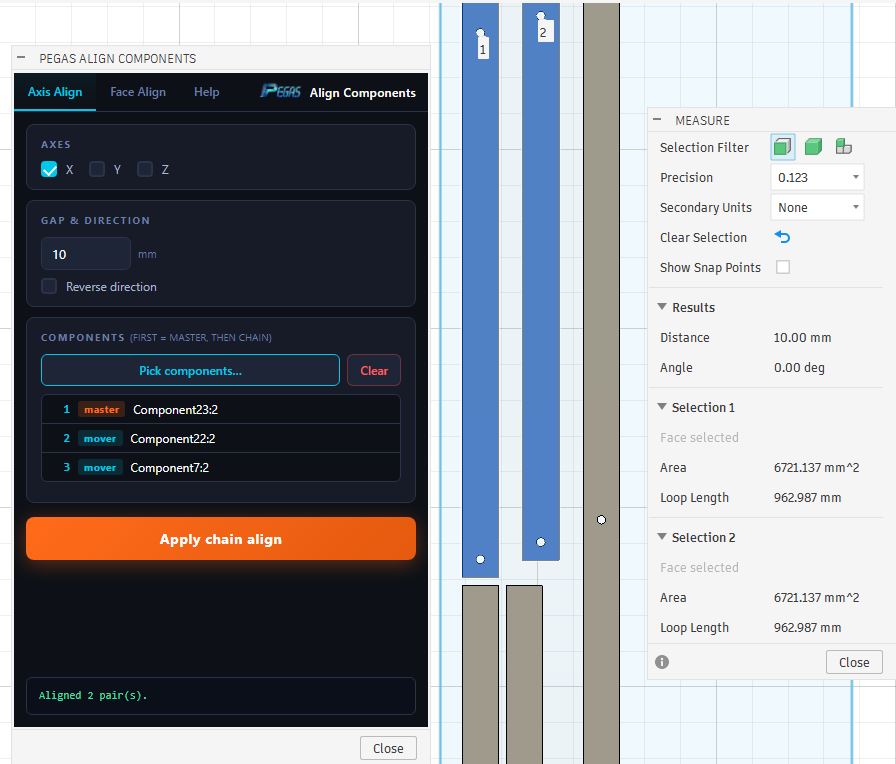
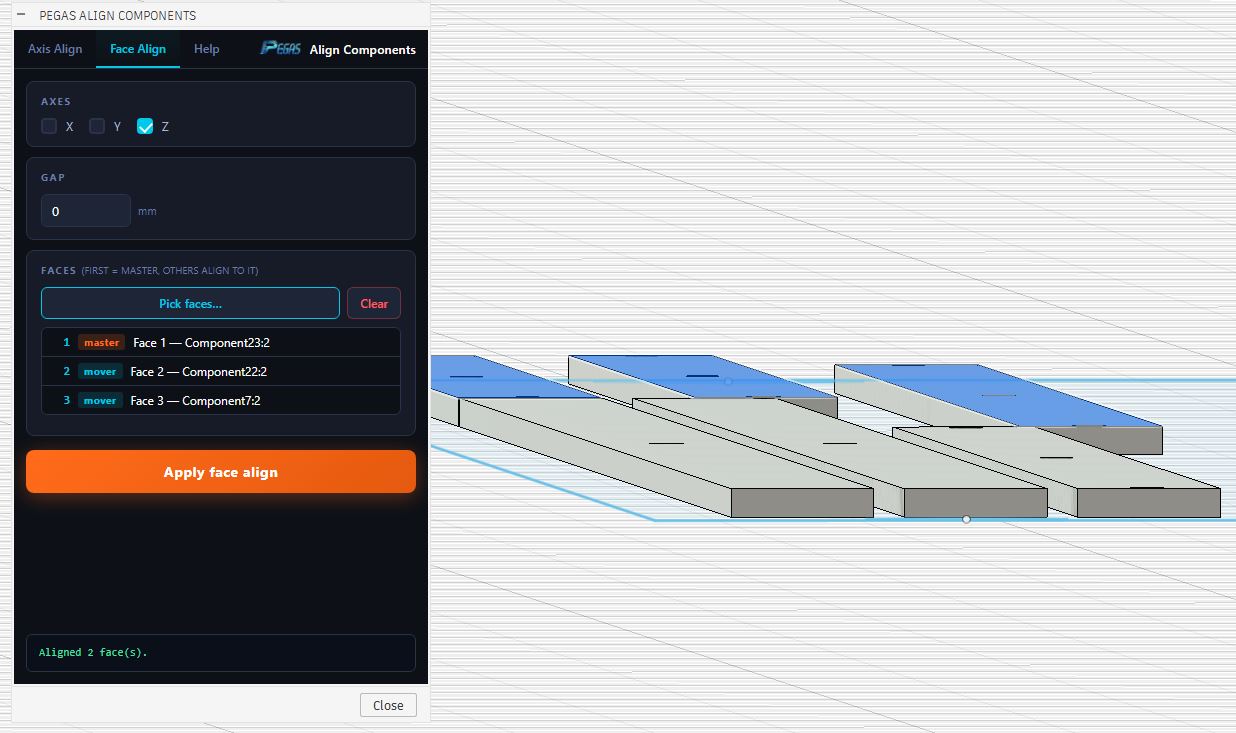
Pegas Align Components allows you to align multiple components without joints instantly. Select your parts, define your target axis (X, Y, or Z), and the plugin snaps them flush, coplanar, or chain-aligned relative to a base component. You can set custom spacing clearances between each snapped body, creating a perfect sheet layout in seconds.
High-Performance Alignment Features
📐 Bounding-Box Chain Snapping
- Feature: Evaluates the 3D limits of components and aligns them edge-to-edge.
- Advantage: Computes exact spacing offsets and snaps parts consecutively.
- Benefit: Place parts in a row with precise tool clearance spacing in a single click.
📐 Multi-Axis Planar Snapping
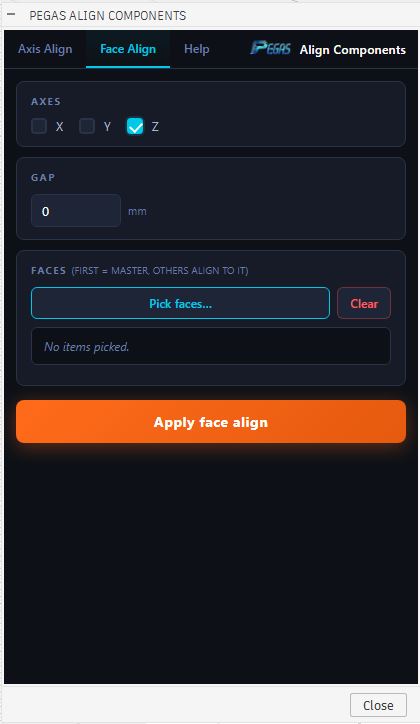
- Feature: Snaps all selected components coplanar to a reference face.
- Advantage: Flattens rotated bodies to your nested sheet face normal.
- Benefit: Prepares 3D solid parts for 2D nesting output without tedious manual rotation.
📐 Chain Alignment & Spacing clearance
- Feature: Spacing parameters can be locked or defined relative to cutter diameter.
- Advantage: Creates uniform spacing offsets along X or Y coordinate axes.
- Benefit: Optimizes sheet utilization and keeps layouts clean and ready for manufacture.
Case Study: 95% Faster Flat-Sheet Layouts
- Before: Designers spent 12 minutes manually positioning 24 drawer dividers on a plywood sheet layout, using coordinate transforms to keep spacing uniform.
- After: By using the axis align components chain snapping feature, they selected all 24 dividers and aligned them with a 6 mm tool clearance offset along the X-axis in just 4 seconds.
- Bridge: Smart boundary transform solver automates alignment, converting tedious coordinates dragging into a single button click.